Preparation: How To Paint Cabinets Like A Pro

The foundation of a professional-looking paint job lies in meticulous preparation. Just like a painter prepares their canvas, you must ensure your cabinets are ready to receive a flawless coat of paint. This means going beyond a simple wipe-down; it involves a comprehensive cleaning and prepping process that sets the stage for a durable and stunning finish.
Cleaning and Prepping Cabinets
Thorough cleaning removes dirt, grease, and grime, allowing the paint to adhere properly. This step is crucial for achieving a smooth, even finish that lasts.
- Remove all hardware: This includes hinges, knobs, pulls, and any decorative accents. Removing these elements allows you to paint the entire cabinet surface without obstruction and ensures a seamless, professional look.
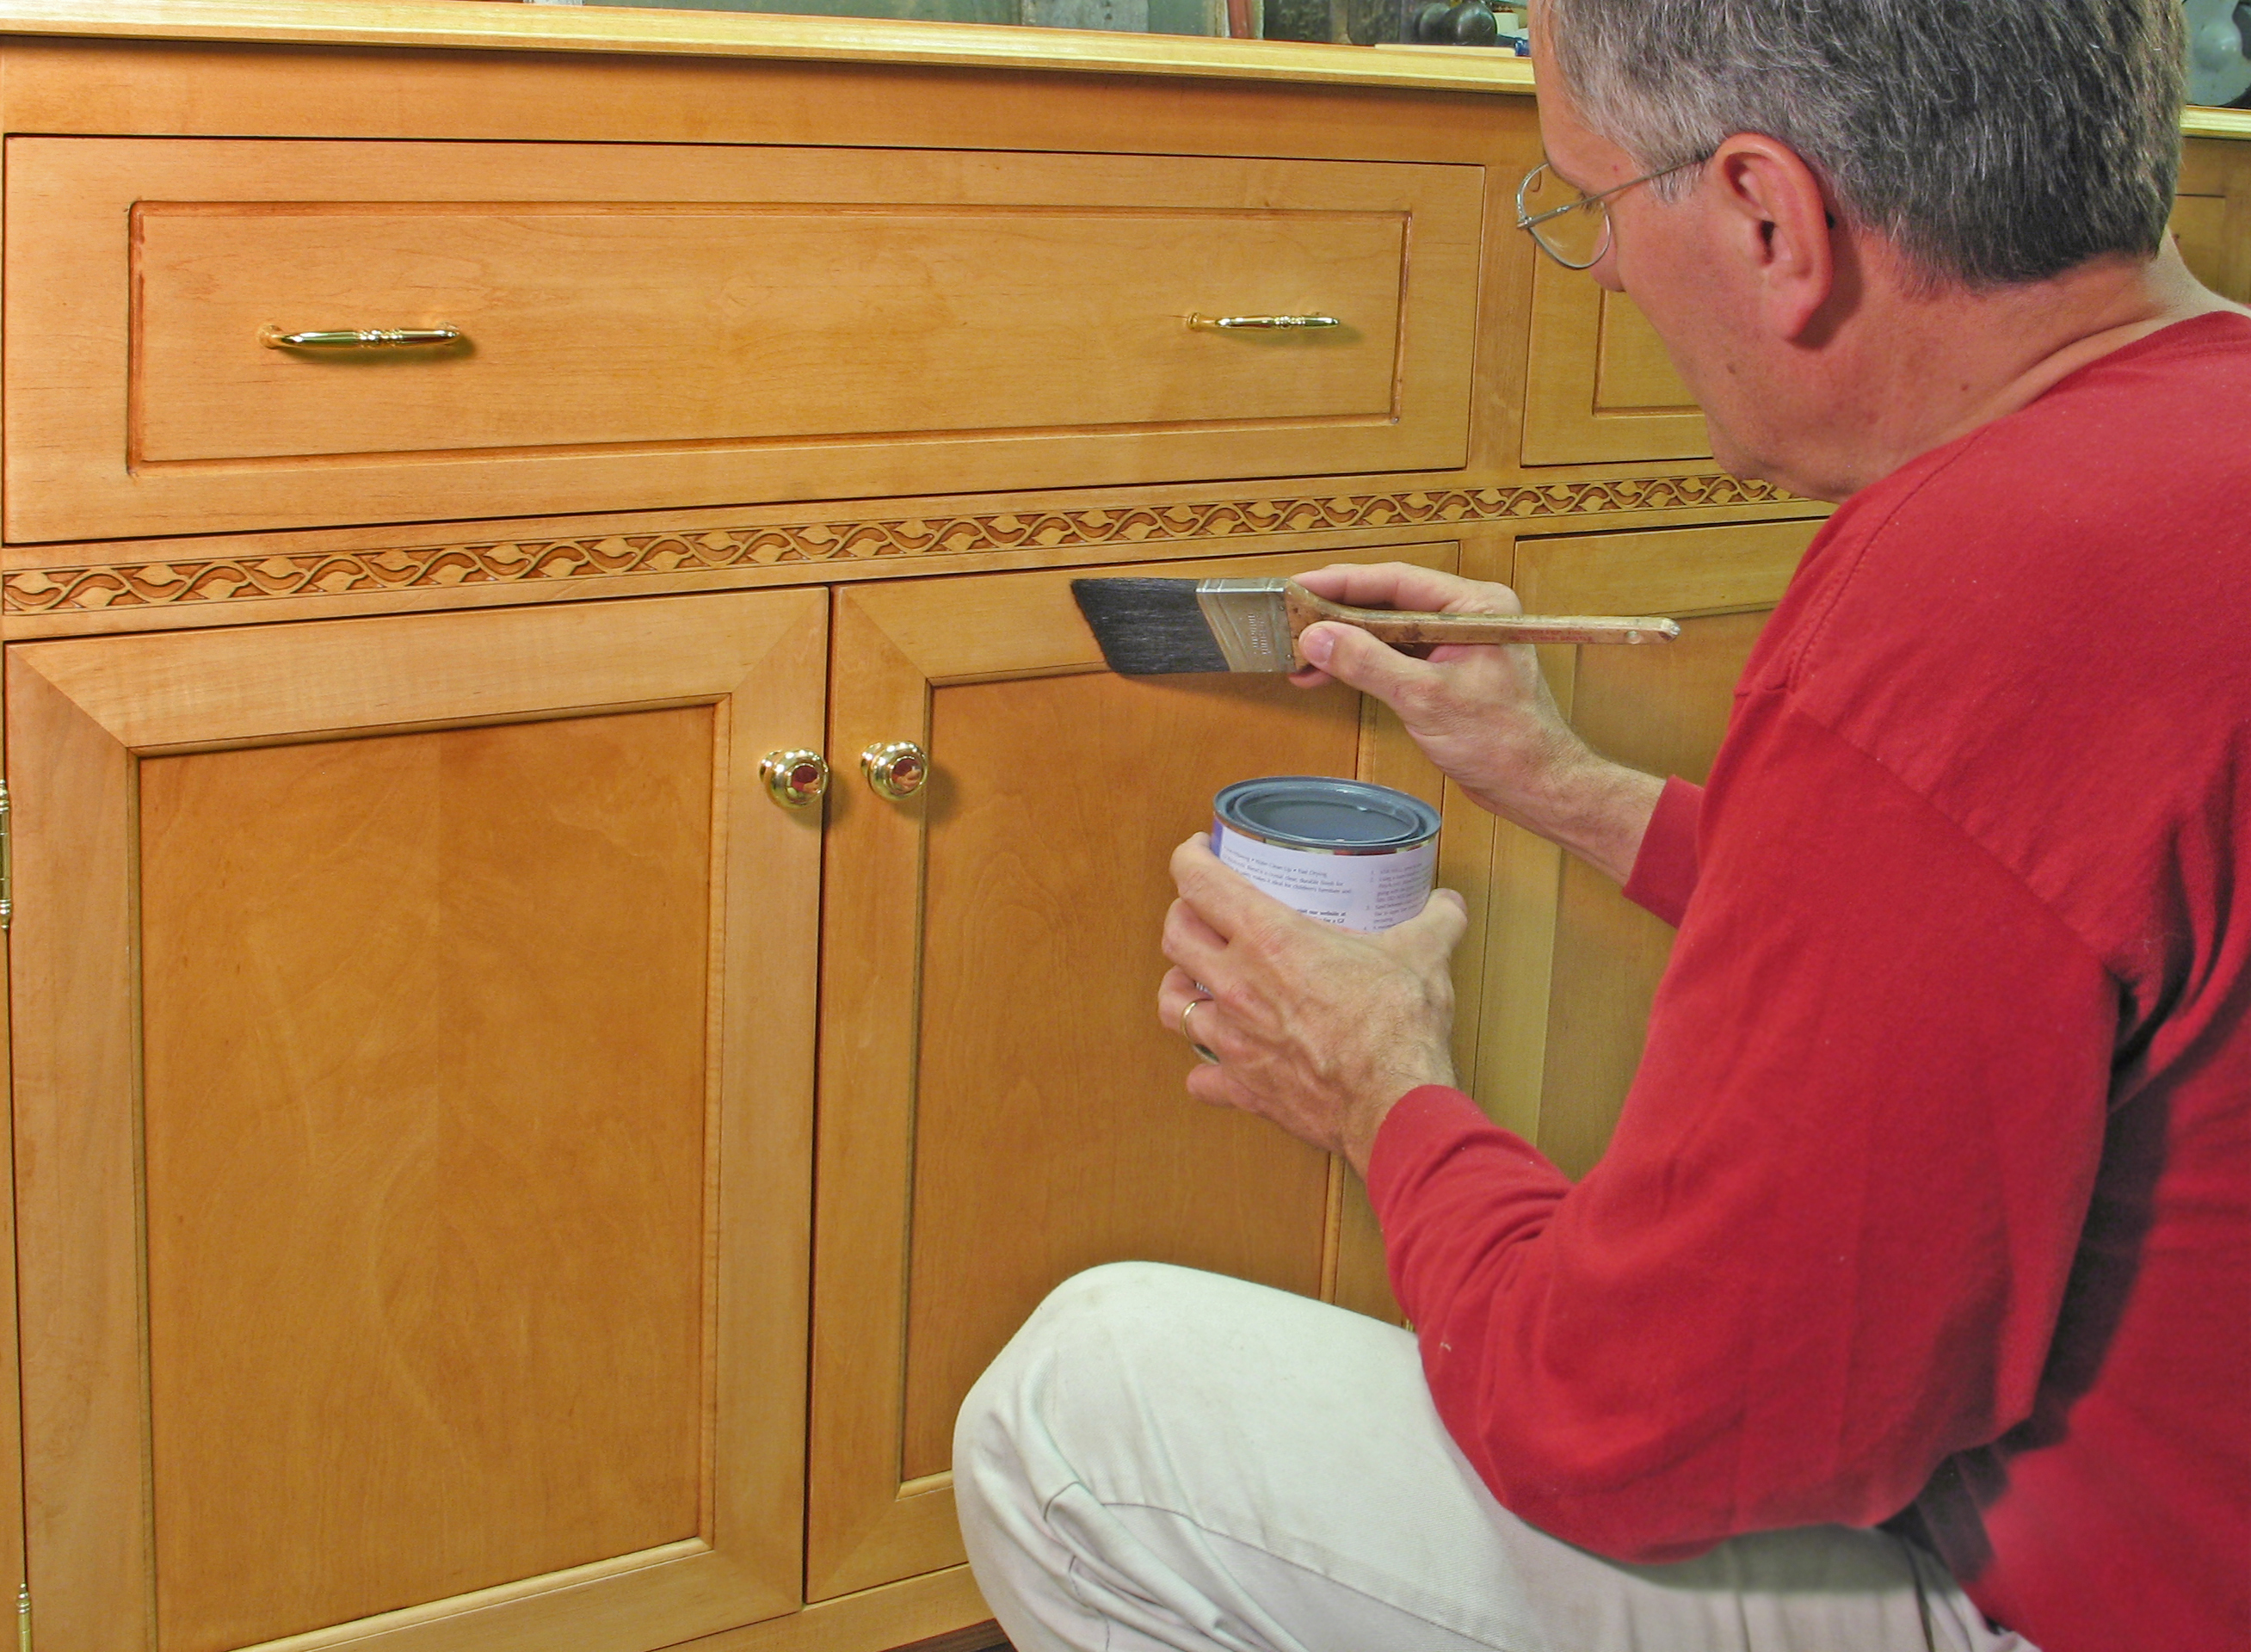
- Wash the cabinets: Use a mild detergent and warm water to clean the surfaces. A soft cloth or sponge is recommended to avoid scratching. Be sure to rinse thoroughly and allow the cabinets to dry completely. This removes any residue that may interfere with paint adhesion.
- Sand the surfaces: Use fine-grit sandpaper (120-180 grit) to smooth out any imperfections and create a surface that allows the paint to bond properly. Sanding helps to remove any remaining residue, scratches, or bumps. Sanding with the grain of the wood ensures a smooth, even finish. A light sanding is usually sufficient, but more sanding may be needed for cabinets with significant imperfections.
- Clean the sanded surfaces: After sanding, remove any dust particles with a tack cloth or damp cloth. This step ensures that the paint adheres properly and prevents dust from becoming embedded in the paint.
- Fill any holes or cracks: Use wood filler to fill any gaps, cracks, or holes in the cabinet surfaces. Allow the filler to dry completely before sanding it smooth. This creates a uniform surface for painting.
- Prime the cabinets: Priming provides a bonding surface for the paint and helps to create a smooth, even finish. It also helps to seal the wood and prevent the paint from absorbing into the surface. Choose a primer specifically designed for cabinets or woodwork. Apply the primer evenly using a brush, roller, or spray gun. Allow the primer to dry completely before painting.
Painting Techniques

Painting cabinets is an art form that demands precision and attention to detail. Whether you’re a seasoned DIYer or a first-timer, understanding the nuances of painting techniques is essential for achieving a professional-looking finish. Let’s delve into the world of painting methods and learn how to achieve a smooth and durable finish.
Comparing Painting Methods
Different painting methods cater to specific needs and preferences. Choosing the right method depends on the size and complexity of your project, your desired finish, and your level of comfort with different tools.
- Brushing: This method is ideal for detailed work, like corners, edges, and intricate moldings. It provides excellent control and allows you to apply paint precisely.
- Rolling: For large, flat surfaces, rolling is the go-to method. It’s efficient and creates a smooth finish. However, rolling can be tricky around corners and edges.
- Spraying: This method is the fastest and offers the most even coverage. However, it requires careful preparation and a well-ventilated area. Overspray can be an issue, and it’s essential to use proper safety precautions.
Tips for Applying Paint Evenly
Achieving a smooth, even coat of paint is crucial for a professional finish. Here are some tips to ensure consistent application:
- Load the brush or roller appropriately: Don’t overload your brush or roller. Too much paint can lead to drips and runs. Dip the brush or roller into the paint and remove excess by tapping it gently on the side of the container.
- Use long, even strokes: Whether you’re brushing or rolling, use long, even strokes to distribute the paint evenly. Avoid going back over the same area multiple times, as this can create brushstrokes or roller marks.
- Work in thin, even coats: Thin coats are better than thick ones. Allow each coat to dry completely before applying the next. This ensures that the paint dries evenly and prevents cracking or peeling.
Techniques for Achieving a Professional Finish
A professional finish requires attention to detail and specific techniques. Here are some techniques that will elevate your cabinet painting project:
- Sanding: Sanding between coats helps create a smooth, even surface. Use fine-grit sandpaper (220-grit or higher) to smooth out any imperfections or brushstrokes.
- Layering: Layering thin coats of paint allows for a smoother, more durable finish. Start with a primer, followed by two or three coats of paint.
- Using a quality paint: Invest in a high-quality paint specifically designed for cabinets. This will ensure a durable, long-lasting finish.
Finishing Touches
The final touches are what truly elevate your cabinet paint job from good to great. This involves creating a smooth, even finish and protecting it with a sealant or top coat. It also allows for the addition of decorative details that personalize your cabinets.
Sanding and Multiple Coats, How to paint cabinets like a pro
Sanding between coats helps to create a smooth and even finish. After the first coat dries, lightly sand the surface with fine-grit sandpaper (220-grit or higher). This removes any imperfections and helps the next coat adhere better. Apply a second coat, allow it to dry, and sand again. Repeat this process for a third coat. This multi-coat approach ensures a durable and professional-looking finish.
Protecting the Paint Job
A sealant or top coat protects your painted cabinets from scratches, stains, and wear and tear. There are several options available:
- Polyurethane: A durable and water-resistant option that is ideal for high-traffic areas.
- Acrylic sealant: A good all-around choice that is easy to apply and dries quickly.
- Wax: Provides a protective layer and enhances the sheen of the paint.
Apply the sealant or top coat according to the manufacturer’s instructions.
Decorative Details
Adding decorative details can personalize your cabinets and enhance their aesthetic appeal. Here are a few options:
- Distressing: This technique involves creating a worn or aged look by sanding down the paint in certain areas. You can use sandpaper, a wire brush, or even a hammer to achieve different levels of distressing.
- Glazing: Glazing involves applying a thin layer of translucent paint over the base coat. This creates depth and highlights the details of the cabinets. You can use a glaze in a contrasting color to create a subtle effect, or in a similar color to enhance the depth of the base coat.
Experiment with different techniques and colors to create a unique look that reflects your personal style.
How to paint cabinets like a pro – Painting cabinets like a pro takes time and care, but the results can be truly transformative. A key technique for achieving a flawless finish is learning how to spray paint kitchen cabinets. With practice and the right tools, you can achieve a professional-looking, durable finish that will enhance your kitchen for years to come.
Painting cabinets like a pro requires attention to detail, from prepping the surface to choosing the right paint. One key aspect is ensuring your hinges can handle the weight of the doors. Blum thick door cabinet hinges offer superior strength and smooth operation, complementing your newly painted cabinets with a touch of quality.
After all, the right hinges are a small investment that can make a big difference in the longevity and functionality of your kitchen.

